A Brief Introduction to the UX Design Process
You've heard of UX Design, now it's time to incorporate it into your business. Let's unpack how a proven UX design process can benefit your business.

Table of content
5 (or more) steps to a great User ExperienceStep 1: Empathize (i.e. Understand)Step 2: DefineStep 3: Ideate (or Sketch)Additional step: DecideStep 4: PrototypeStep 5: Test (i. e. Validate)An endless step: Iterate5 (or more) steps to a great User Experience
Incorporating UX design processes into your business can bring numerous benefits, including increased customer satisfaction, improved brand loyalty, reduced development costs, and higher conversion rates. By putting the needs and preferences of your users at the forefront of the design process, you can create digital products and services that are intuitive, user-friendly, and engaging.
A well-designed user experience can help differentiate your brand from competitors and foster a positive reputation, leading to increased customer retention and long-term business success.
Want to learn more about ROI of UX Design? Read our article - type: entry-hyperlink id: 4VYZgLfp4oMkll3w4w4q91 Design processes are different, but their main goal remains the same - to get the best results. Most of them are inspired by the Design Thinking Methodology, but they can differ due to various team structures, business strategies, and most importantly - the purpose of the project.
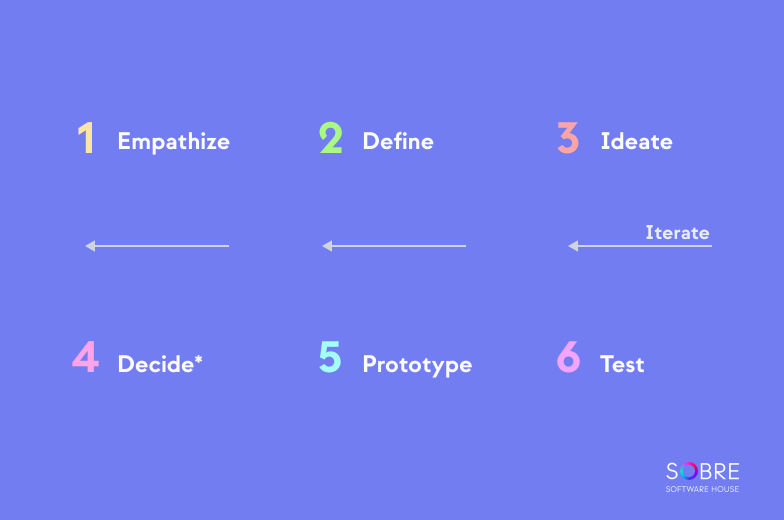
A more classic approach takes the form of a 5-step process broken down into Empathize, Define, Ideate, Prototype, Test. Google’s Designs Sprints follow the same principles but add an extra step called Decide.
Step 1: Empathize (i.e. Understand)
Bring everyone to the table and share your knowledge from business, user, and technological perspectives. To really understand the case, it is important that everyone is on the same page. Empathizing with the users can bring a fresh perspective on the problem and introduce a more credible view of the target audience's needs. Depending on the project, the types of User Research methods to choose from may vary. Teams need to consider which ones might be most useful in this project, but designers use them the most:
Field Research e.g. user interviews and observations,
Benchmark i.e. competitor’s research,
Desk research,
Usability tests (for existing products),
Hotjar, Google Analytics, etc.
It's time to absorb all the information you can, do your research, and learn all about users, business, and technology. The benefits of doing so are enormous, as you encounter the problem for the first time and gain more knowledge about it. Without it, you may never know what your users really need, fear or want. This will prevent you from making the most obvious mistake of developing the wrong idea later.
Step 2: Define
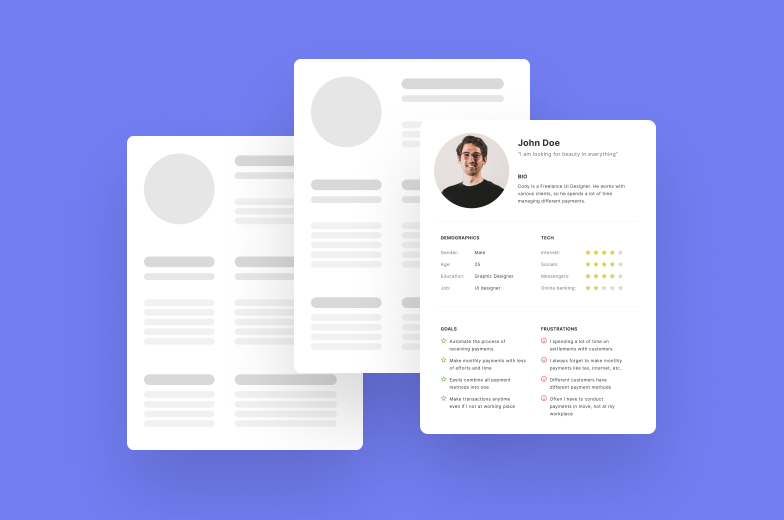
With the research done in the previous step, it’s time to summarize the insights. The team's goal is to develop a mutual understanding of the user's perspective and the business context of potential solutions. Get the users' needs, issues, pain points, goals, achievements, background, and ideas and analyze them. Several tools can come in handy at this stage:
Personas,
Journey maps,
User need statements i.e. user stories,
Problem statement,
Business Model Canvas,
Value Proposition Canvas.
This step will help you establish your business strategy, goals, and criteria for success i.e. success metrics. It also gives a broader look at the needs of users and the basis for building the first ideas. It also helps your company develop a marketing strategy and allows you to look at your company from a completely different angle.
Step 3: Ideate (or Sketch)
The Ideate step is about ideas. Get inspiration from other competitors and try to look for the first solutions. The goal of this phase is to generate as many ideas as possible. This is the time to put a whiteboard to use! Everyone on board is asked to draw, sketch, and write down any ideas they have individually. Finally, the team should get together and narrow down the most important ideas and prepare visual sketches.
The tools used at this stage are mainly limited to pens, sheets of paper, and a board. Start with creativity, not control. Give everybody a chance to express themselves through their ideas. The time to evaluate these ideas comes at the end of this step. To generate ideas you can use methods known as:
Brainstorming,
Crazy 8’s,
Mind mapping,
Storyboarding,
Analogies.
This step forms the basis for the first ideas and emerges the most suitable ideas for prototyping and testing in the next steps. This keeps you exploring different options and not getting stuck with one solution that may not be relevant.
Additional step: Decide
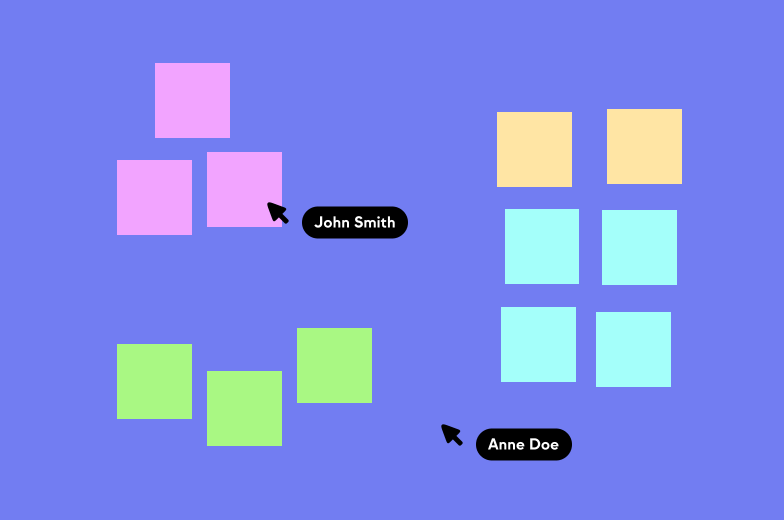
This extra step has been added to Google’s Design Sprint method. It’s described as “finalizing the direction or concept to be prototyped”. This is done by sharing previously generated sketches with team members and finding the best solution through exercises. Therefore, this step is mainly to establish the main goal of the design sprint. To define it, Google project teams use workshop methods such as:
Dot vote,
Decision Matrix,
Heatmap Voting.
Step 4: Prototype
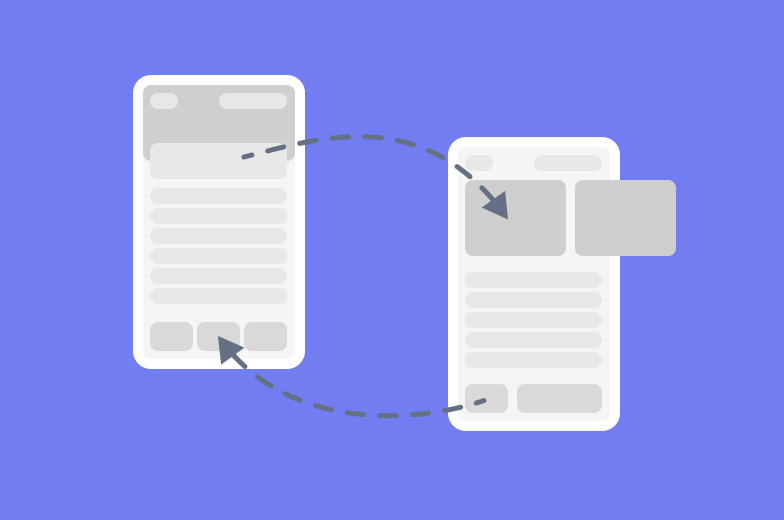
At this point, the team has its main goal defined. Time to breathe some life into it! This is the time when the team makes decisions about the concept of the idea, features, and flows. Of course, this will be just the beginning of determining the interaction and appearance of the product, because design is an iterative process.
The purpose of the prototype is to create the first feel of the product and prepare it for validation with users. Think of it as an MVP version with only the most important features and user paths. It shouldn't take long to build a prototype as it should only be as realistic as necessary to test the intended use with users.
“By taking the time to prototype our ideas, we avoid costly mistakes such as becoming too complex too early and sticking with a weak idea for too long.” - Tim Brown, chair of IDEO
The prototype can be a set of sketches, a visual prototype made in Figma, Sketch, Adobe XD, etc., but it can also be a scenario (e.g. Wizard of Oz method). Think about the most appropriate tools for your project and adjust the design process accordingly.
Step 5: Test (i. e. Validate)
Time to confront everything you have worked on so far with real users. This important part of the design process will provide the most accurate feedback about the prototype idea. At the end of this stage, you will know if the concept is appealing to potential users and identify areas for improvement.
Presenting your idea to users will help you understand their needs and desires even more. Focus on the feelings, behaviors, thoughts, and ideas they have. Don't be afraid to ask questions and delve into the issues they face. Think of it as a method of proof-of-concept and getting the most user-centric approach possible.
The most common way to do this is through usability testing. It can take many forms, but the most popular is the observation of a user trying to complete a set of tasks with a prototype. Ask UX designers to sit down with users and see them go through your prototype, thinking aloud, scenarios, and questions. In this way, you will see the actions, behaviors, thoughts, and feelings of users for later analysis of points for improvement. Make sure your involvement in the project does not bias you. Stay objective! You want to make sure that users are satisfied with your solution, your personal preferences don't matter that much.
An endless step: Iterate
Going back to previous stages of design is inevitable. There is always room for improvement! Reconsider or improve the solution with the knowledge you gained from usability testing. Be sure to take a user-centric approach and go through the same design process with all the new ideas you have.
But, if you have the right foundation, improvements will be easier even in a working product. For now, you can get your developers to work, collect user data, and optimize your concept for the best performance.


